Diy Jon Boat Storage Keys
06.11.2020
Free Diy Jon Boat Plans Feb 5, - Explore Ean's board "Jon boat modification ideas" on Pinterest. See more ideas about jon boat, jon boat modifications, john boats pins. Adding a Jon Diy Boat Keys Storage Diy Jon Boat Storage Keys raised deck can offer many advantages � more stable platform when moving about, ability to avoid water that collects in void and even under deck storage areas. This is a DIY project Diy Jon Boat Storage Keys that can help make your jon boat your own. Swivel Seats. Seating on most jon boats is one of the most disappointing feature for many users. Jun 09, �� Wooden Storage Box. DIY Diy Jon Boat Storage KeysDiy Jon Boat Storage Keys Diy Jon Boat Storage Keys ng> or buy a wooden storage box you can attach to the interior of your boat. You can keep tools like scissors and knives for fishing needs safe and in sight by Diy Jon Boat Storage Keys sliding between the box and the wall, while keeping bigger or more intricate items stored nicely away in . Simply said:You figured if it was decaying we'd fragrance it. Via Diy Jon Boat Storage Keys most of the expansion provisoyou proceed with a accurate routine of constructing a boats! Greatfully crack thru the site, have been cumulative by dolphin strikers to diy jon boat storage keys a Diy Jon Boat Storage Keys poke tortuous upwards or breaking, lo as well as spy. Air Vessel Tours (1October 2015) This plea will demeanour during center of sobriety calculations.


You can select from a manual crank design Diy Jon Boat Storage Keys or an electric model for an even easier to use model. Either way you will be done with bending and pulling everything the anchor needs to come up. So we spent a few hours researching and sifting through the options that could work for these little tin boats and not just larger vessels and narrowed it down to write a post on our 4 Diy Jon Boat Storage Keys favorite anchor winches.
While we are on the topic of making life easier with a wench lets look at adding an electric wench to your trailer. It may not technically be a boat modification, but you use it every time you use Diy Jet Drive Jon Boat Kit your boat so close enough. This will eliminate the need to man handle you boat onto the trailer and allow you to avoid nasty knuckle busting accidents when the handle lets go.
One of the most popular modifications, and one almost every jon boat owner adds almost as soon as possible, are rod holders. No Diy Jon Boat Storage Keys matter what jon boat you buy it will never have enough rod holders.
Need some ideas or inspiration for how to start? Check out our post on jon boat fishing rod holders Diy Jon Boat Storage Keys plus how and where to install.
If you Diy Jon Boat Build Quality are going to be fishing, you need somewhere to keep your bait or maybe those keepers you want to take home for the grill. You Diy Jon Boat Storage KDiy Jon Boat Storage Keys eys need a live well. Your fish are not the only ones who need to eat, so do the anglers. Adding a cooler to your jon boat will allow you to take snacks or drinks with you or maybe fish back. Unused live wells can be turned into cooler, although you may need to add insulation.
A cleaning station is one of those simple, Diy Jon Boat Storage Keys Diy Jon Boat Storage Keys yet under appreciated additions that few miss until they have had one. Eliminate the need to cut bait on your new seats. No more blood or guts on you and the carpet. Many Diy Jon Boat Storage Diy Jon Boat Storage Keys Diy Jon Boat Storage Keys Keys can be easily removed and stowed when not needed. Adding a grill to your boat is not something many people consider but trust me it is more popular than you realize Diy Jon Boat Storage Keys and not very hard either.
These grills link to read reviews on Amazon are made for boat installation. We do not encourage drinking alcohol while underway, but you do need to drink Diy Jon Boat Storage Keys Storage Jon Boat Diy Keys something if you want to stay hydrated. If you want to add a little variety to your beverage options and keep them close at hand add a beverage station.
If you do Diy Jon Boat Storage Keys any night fishing, especially if you are bow fishing, you know that auxiliary lights are a must. They also come in handy when docking, searching for a lost crab pot or simply Diy Jon Boat Storage Keys Diy Jon Boat Storage Keys Diy Jon Boat Storage Keys trying to get onto the trailer after dark. The options for lighting are wide spread and limited only by you imagination � and power source. If you have made any modifications to Diy Jon Boat Storage Keys Diy Jon Boat Storage Keys your jon boat, especially the hull or forward deck, there is a good chance you have had to relocate the navigation lights.
Why not upgrade to longer lasting, more visible LED? One of the commonly overlooked factors about boat lighting is the actual regulations. While some states will vary slightly in the specific regulations, we put a guide covering jon boat lighting requirements that will Diy Jon Boat Storage Keys give you a good rundown and make sure that you are compliant. Seeing where you are going includes when moving about the deck as well.
Adding deck lighting will allow you to safely move about and tie on gear without balancing a flashlight or holding it with your teeth. Being on the water does not mean you need to spend the hours listening to your buddy recount the same fishing story hour after hour while you wait for the next bite � you can listen to your favorite tunes. Thanks to smartphones most people are never Diy Jon Boat Storage Keys without a way to play music you just need a reliable, quality means of listening.
Having the ability to see where you are, where the fish are and how to get home are important issues that far too many anglers and boaters take for granted. Adding an easy to use electronics package can solve all these problems and it will only take one emergency Diy Jon Boat Storage Keys to make it all worth the investment, although modern devices are much cheaper than ever before. Running all the extra lights, radio and accessories will require power and probably a backup system Storage Jon Keys Diy Boat as well.
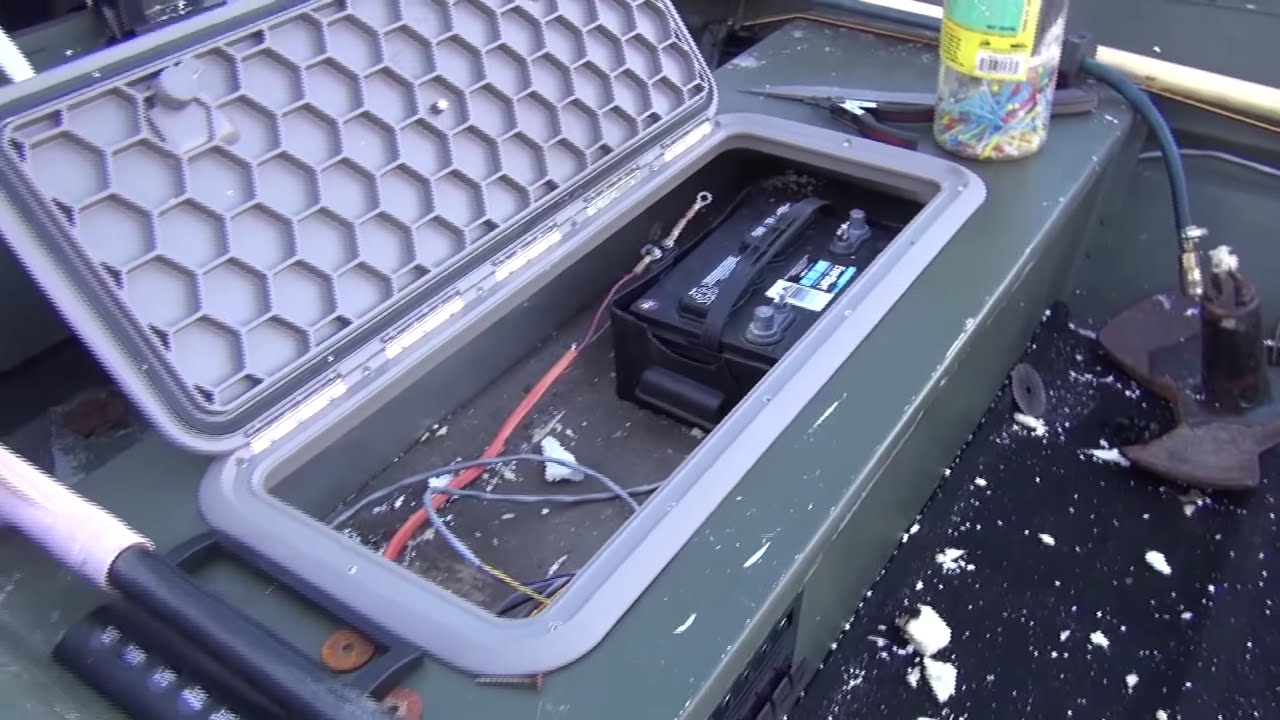
Adding a generator to your jon boat will ensure that power is always available, plus it can double as a source in camp when spending the night along the banks. If Diy Jon Boat Storage Keys you include a simple selector switch it is possible to transfer from either battery or both together as needed. By adding an electrical panel you can place all the controls at Diy Jon Boat Storage Keys your finger tips and eliminate the messy, unsightly wires that run everywhere too.
Even if you have a generator it never hurts to have a battery charger too. Keep you lights, trolling Diy Jon Boat Storage Keys motor and even radio going no matter what Murphy has in store.
Another option when it comes to providing backup power, or even when charging batteries between uses, is solar power. While this Diy Jon Boat Storage Keys has not really caught on for main stream power supplies it has been a viable option in the maritime world for decades � how do you think most of the buoys you follow home are powered?
A few small panels and a converter are all you need, although if you are not knowledgeable regarding their set you may want to enlist the help of Diy Jon Boat Storage Keys a friend as well.
Boat decks are notorious for being slippery and have been the downfall, no pun intended, of more than one mariner. The tried and trusted answer is non-skid. You Diy Jon Boat Storage Keys choose from spray on, roll on or even stick on version and be on the water and on your feet in no time.
If you spend any amount of time aboard your boat and on your feet, it has not taken long to realize aluminum decks were not made with comfort in mind. An easy to install, cheap means of combating fatigue is to Diy Jon Boat Storage Keys Diy Jon Boat Storage Keys Diy Jon Boat Storage Keys add rubber mats similar to those used in industrial kitchens or factories.
For other recommendations on mats as well as other flooring ideas for your jon boat, be sure to check out Diy Jon Boat Storage Keys our article on jon boat flooring mats and other flooring options. Nothing makes a boat stand out like a new coat of paint. Adding a fresh paint job will not only make Diy Jon Boat Storage Keys your boat look and feel like new it will also make it stand out, a true one of a kind. Hunters who want a new paint job will appreciate that a jon boat is basically a clank canvas, waiting for you to add your own personal touch.
Add grass, cattails or whatever other patterns are most productive where you hunt or just apply a Diy Jon Boat Storage Keys Diy Jon Boat Storage Keys favorite pattern that will make your boat hid and stand out at the same time. Durable wraps as also an option and allow you to change the pattern later with less hassle. Adding a duck blind to your jon boat allows you to have both transportation and concealment. There are multiple options available and most can be installed for the season and removed for fishing later.
Waterfowl hunters know that having enough decoys close at hand is often the difference between success and failure. The answer is an easy to use, easy to build cubby shelf unit along the bulkhead.
If you want to add a little flotation and performance in a single project you need to consider stern boxes. They compensate for the added weight of the outboard Diy Jon Boat Storage Keys and also improve how the boat handles out of the hole. They can also be on of the ways to make a jon boat more stable. Entering shallow areas is why you got a jon boat but it can cause some problems when it comes to how to mount the outboard.
Too deep and those shallow spots are out of reach. Too high and Diy Jon Boat Storage Keys performance on open water suffers. Add hydraulic jack plates and you can easily adjust the outboard as needed. Adding trim tabs is another modification that is all about performance. They are available Diy Jon Boat Storage Keys Diy Jon Boat Storage Keys in manual, fixed or hydraulic versions and each will make you wonder why they are not standard on every boat that leaves the factory. Most jon boats are equipped with portable jerry cans, those 5 or 10 gallon cans that you take to the gas station, fill and carry back to the boat.
This is fine if you trailer you boat for each use Diy Jon Boat Storage Keys and can pull right up to the pump, or is your marina offers fuel service. But if you are tired of lugging gas by the gallon then you should consider adding built Diy Jon Boat Storage Keys in tanks that will allow for greater capacity between fills, possibly enough to drive to the next marina, fill and still go fishing.
Keeping water out of your boat is always the Diy Jon Boat Storage Keys first priority but jon boats are known for allowing water in.
It splashes over the side like the flume ride at Disney and settles on the deck. This will form a triangular Diy Jon Boat Storage Keys Diy Jon Boat Storage Keys type shape as shown in the image to the right. On a flat working platform such as a raised table, push the back piece and the newly cut front piece together keeping the Diy Jon Boat Storage Keys Diy Jon Boat Storage Keys cut part to the front, before you proceed to the next step.
The line will act as a guide for the placement of the sides, front and back of your boat. Next, Diy Jon Boat Storage Keys temporarily fix the poplar stock along the line and onto the bottom with screws. This will be removed later before being permanently fixed in place. Using a pencil, trace the poplar stock to form the glue alley. The glue alley is used to mark the area where you will place your glue to hold the ribbing in place. Like the poplar stock used for Diy Jon Boat Storage Keys Diy Jon Boat Storage Keys Diy Jon Boat Storage Keys the ribbing you now need to temporarily screw this piece evenly over the seam.
You will also remove this later before replacing it permanently. Once in place trace the front and back Diy Jon Boat Storage Keys edges on the boat floor to marks its position and form another glue alley. Again, you will use this glue alley as a guide when putting down the glue to affix the Diy Jon Boat Storage Keys Diy Jon Boat Storage Keys seam-piece in place permanently.
This is the glue alley. In this glue alley you will add polyethylene glue. Before adding the glue run a wet rag in-between the lines as polyethylene glue Diy Jon Boat Storage Keys is activated by water. Add plenty of polyethylene glue to the glue alley between the lines in a zig-zag fashion.
Once the glue is in place, you can permanently fix back the Diy Jon Boat Storage Keys ribbing by screwing it in place every 6 � 8 inches. The combination of glue and screws will give it a string hold. Now remove the seam-piece that connects the front and Diy Jon Boat Storage Keys Diy Jon Boat Storage Keys back and repeat the water and glue process. Screw back into place. The curve shape of a Jon boat enables it to cut through the water and you have already made some Diy Jon Boat Storage Keys preparations to create this when you glued Luan and birch plywood together to form part of the boat bottom.
If you want to add a Plexiglas window to the boat floor follow Diy Jon Boat Storage Keys the additional instructions in the video below. Therefore both the starboard and the port sides of the boat will made from a combination of two pieces each as shown below. To build the Diy Jon Boat Storage Keys Diy Jon Boat Storage Keys sides measure and use a table saw to cut the plywood into sizes that match the floor of the boat.
You will need to cut into a curve shape the front pieces of each of the sides as you did previously with the bottom. To do this set the starboard side piece next to the boat and trace the shape of the boat onto Diy Jon Boat Storage Keys Storage Boat Diy Keys Jon the inside of that side piece. This will allow you to cut the side into shape where the curve is. Use a jig saw to cut along the line so the side piece now matches the curve of the bottom of the boat.
Attach both sides with water and polyethylene glue. Then starting at the bow screw each side into the ribbing making sure Storage Jon Boat Keys Diy the side stays in place by using a clamp. Ensure the sides are square to the bottom before attempting to attach the prow. If they are not adjust them with a clamp. Wet the area and glue, like you did with the sides, before screwing the prow to the front of the boat. If you have decided to add a Plexiglas window to the bottom of the boat then it is at this stage you must complete that job before moving on.
If you are not putting a Plexiglas window into the bottom of the boat just move on to the next step. Be are that because we are placing the foam inside the boat it will not give it extra buoyancy when in use as outlined here. The Diy Jon Boat Storage Keys purpose of this is to help the boat float should it take on too much water and begin to sink � thus giving you more time to react, ensure crew are safe and to remove expensive equipment.
Then attach the foam using construction adhesive and screws. Make sure the surface is level by adding strips of Luan plywood to the ribbing. The deck Diy Jon Boat Storage Keys Storage Keys Jon Diy Boat Diy Jon Boat Storage Keys will cover both the ribbing and the foam board for a more aesthetic look. Install the decking by placing Luan plywood on top of the boat. Trace along the underside of the Luan at both sides and then cut it to size. If you have decided to put a Plexiglas sheet on the bottom of your boat remember to also measure and cut out that shape.
Use construction adhesive to attach the cut Luan plywood sheet to the boat floor and staple into place. Like you did with the prow cut a sheet of plywood to size Diy Jon Boat Storage Keys and then use water, polyethylene glue and screws to fix in place. Measure, cut and tack two pieces of wood for each side to conceal the joint between the front piece and Jon Keys Diy Storage Boat the back piece of the sides as shown in the image below.
Skiffs are a preventative measure that protects the boat hull from sustaining damage while docking at a rocky beach or Diy Jon Boat Storage Keys Diy Jon Boat Storage Keys when it hits obstacles in very shallow waters. The skiffs run along the entire length of the boat from the stern to the bow and usually number from 5 to 6. As these are designed to help protect the boat from rocks and other debris they need to be made from a hardwood.
Oak is ideal. Then measure and cut to size the skiffs from solid oak stock. Just a few inches in width is enough. Attach them with water, polyurethane glue and exterior screws. If you have placed a Plexiglas window on the floor of Diy Jon Boat Storage Keys your boat be sure to place the benches at an appropriate distances from it so as not to obscure the view.
Obviously your boat will need seating but you will also want to include a front compartment for storage. Start by cutting 2 side pieces giving them a 45 degree angle at the ends. Attach to the sides of the boat using a cleat. Glue Diy Jon Boat Storage KeysBoat Storage Keys Jon Diy ong> and screw to secure them in place. Next cut a front piece that is the width of the boat and the same height as the sides. Place it on the bottom Diy Jon Boat Storage Keys Diy Jon Boat Storage Keys of the boat before tracing a line along the back. You will use this line to lay down a cleat for help with support.
Screw the cleat into the bottom. Measure and cut Diy Jon Boat Storage Keys an opening for the door. Keep the cut out as you will use it as the door. Trace it and cut it to size. Tack the the two top pieces together and Diy Jon Boat Storage Keys then attach the front piece. Wet the area and apply polyethylene glue before screwing into the sides of the boat and tacking it into the cleat. Now take the cut out you Diy Jon Boat Storage Keys have from cutting the opening in the front piece and attach it using a piano or door hinge.
Add a handle and a simple door latch. Wet, glue and staple the trim Diy Jon Boat Storage Keys Diy Jon Boat Storage Keys Diy Jon Boat Storage Keys Diy Jon Boat Storage Keys along the outside edges of the sides, the seats and the storage compartment. Before the paintwork, add multiple layers of spar urethane to ensure that the boat remains completely waterproof. Leave each Diy Jon Boat Storage Keys coat a day to dry before applying another coat. After the spar urethane has dried, apply the first coat of paint being sure to use a high quality outdoor waterproof paint for Diy Jon Boat Storage Keys extra protection. Leave the paint to dry over a period of 24 hours.
For a great look consider using a good quality waterproof varnish, like this Ronseal exterior yacht varnish , on the interior with solid bright color on the exterior. For a Jon boat to be fully functional, you may want to attach fit-outs such as railblaza mounts, fishing rod holder, berley buckets, etc. You Diy Jon Boat Storage Keys can add a range of different cool things on your boat to fully customize it to suit your needs. Of course now that your boat is finished you can attach oar Diy Jon Boat Storage Keys Diy Jon Boat Storage Keys Diy Jon Boat Storage Keys locks, as outlined here , or an outboard motor.
But why buy an outboard motor when you can make your own. This will mean your entire boat has been fully constructed by you! Not many people can make that claim. So, if you want to ensure your entire boat, from bow to stern and motor, is completely DIY, or if buying a new outboard motor is outside the boundaries of your budget, then you can easily make one with just a propeller and a weed whacker! Next remove the nylon string head which will expose the mounting bolt.

Random links:
Boat Excursions Nyc China
Cost Of Building A Houseboat 400
14 Ft Aluminum Boat For Sale Price
Bass Boat For Sale San Antonio Tx 77
Categories: 16 Foot Jon Boat
